Admit it – you’ve had the dream.
You know, the one where you’re in a professional recording studio, headphones on, hunched over an analogue mixer like a mad scientist in the laboratory. (Like this guy above)
It’s a great dream, but also a long way off for most of us. In the meantime, if you’re serious about your music, you’ve got to learn the art of home recording.
There are many pit stops to take as you cruise down hi-fidelity highway, but don’t be afraid. There’s really not too much required to get a good start, and that’s what this article is all about. We’re going to give you a brief rundown of the bare necessities so you can start your home recording journey.
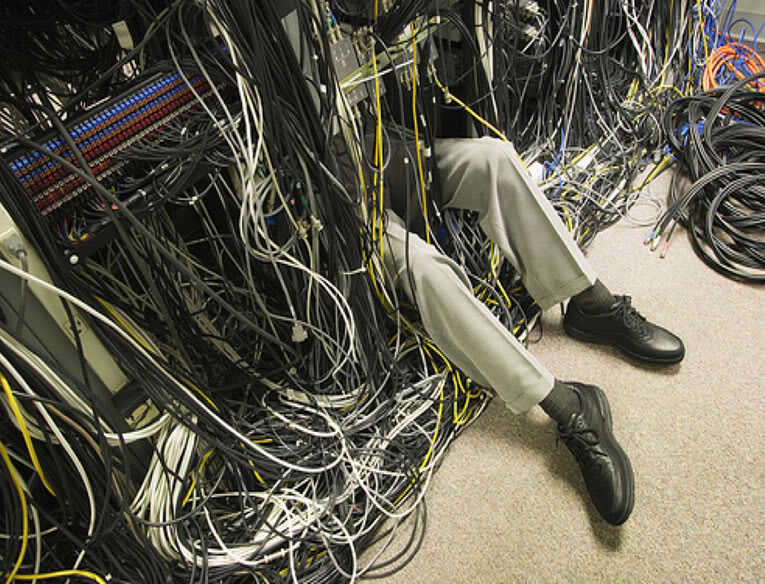
Home recording can seem intimidating at first. There’s a lot of jargon and the inevitable mental image of stray cables, strained power outlets, and serious tripping and/or fire hazards. But don’t fret. You only need nine things to get started. Here they are.
1: The Microphone
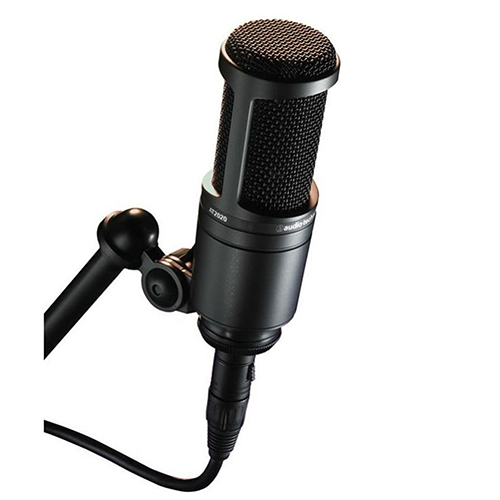
Alright, alright, you already knew this one. But we had to start somewhere. You need a microphone, and over the years, you’ll probably end up with a collection of them. There are lots of options – ribbon, condenser, XLR, USB, etc. and each has its pros and cons. Start with a well-rounded condenser mic. Go for the XLR input, rather than the USB model. Trust me - that will make more sense in a bit.
Ted Brown Music Recommendation: Audio‑Technica’s AT2020 Cardiod Condenser Mic
2: Cables

Here’s another no-brainer. Whether you’re laying down some vocals or shredding up the ol’ six string, you’re going to need some cables. They connect your microphone to the audio interface, your guitar to the amp, and more. Cables are a bit like wine or wristwatches – you can spend as much or little as you want, and there’s definitely a difference in quality for the discerning listener. But if you’re just starting out, don’t sweat the small stuff. Just get some cables and move on.
You can grab all the cables you need at any of our stores, or order online here.
3: Pop Filter

No, pop filters won’t remove things that sound too much like Lionel Richie. Believe it or not, your mouth creates a percussive blast of air whenever you make “P” or “B” sounds. You may not notice it in normal conversation, but your microphone sure does – and it doesn’t sound great. The pop filter will remove that annoying popping sound. Just attach it to your mic and go. It’s easy like Sunday morning.
Ted Brown Music Recommendation: ProFormance PS60 Double Layer Pop Filter
4: Mic Stand
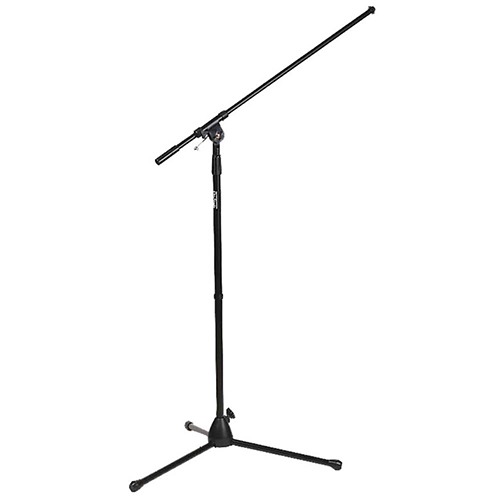
Nothing ruins the aesthetic of a good home-recording setup quite like vainly pinching the microphone between your thighs while laying down your guitar track. It’s just not dignified. So, save yourself the shame and get a mic stand.
Ted Brown Music Recommendation: On-Stage MS7701B Tripod/Boom Stand
5: Headphones
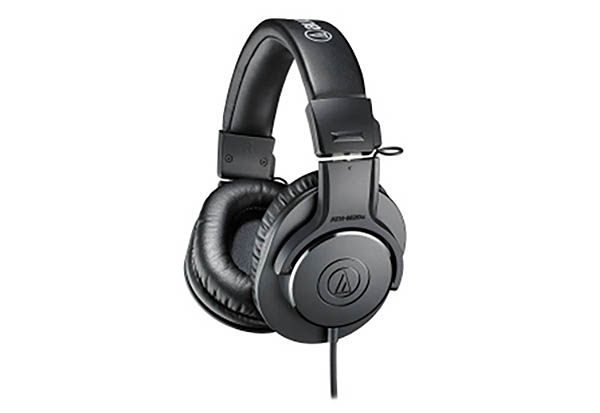
Ah, the audiophile’s favorite piece of equipment. Headphones are going to allow you to hear your music as you work, of course, but there is much more to it than that. Not just any pair will do. You need a pair of “monitoring headphones.” Normal consumer headphones modify the audio information they receive and sweeten it up a bit. They might bump the bass, smooth out the treble, or any number of things. That’s all great, but when you’re editing audio, you need to hear what the sound actually sounds like, without modification. Monitor headphones will play your music with a flat frequency response, allowing you to edit your sound more accurately. That will help it sound just right when it finally does make it to a set of consumer audio headphones.
Ted Brown Music Recommendation: ATH-M20x Professional Monitor Headphones
6: A Computer

I suspect you’ve already got one of these lying around. I mean you are reading this blog after all. On the off chance you’ve absconded with your friend’s computer because you just had to read the latest from Ted Brown Music – we’re flattered, but it’s time to get your own.
The computer is going to run the sound processing software you need (which we’ll discuss soon). You don’t need anything too crazy, but more power is generally better. Some of the software coming out nowadays is heavy-duty stuff, and a fast computer will help you edit your work without slowing you down.
7: An Audio Interface
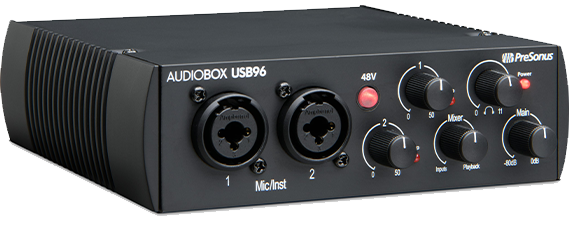
Your audio interface is the intermediary between your sound and your computer. It interprets the audio information into a format that your computer understands. Remember when I said you should opt for the XLR microphone input rather than the USB? The audio interface can handle XLR no problem. Plus, it’s where you’ll plug in your sweet monitor headphones and other goodies.
Ted Brown Music Recommendation: PreSonus AudioBox 96 (25th Anniversary Edition)
8: A Digital Audio Workstation
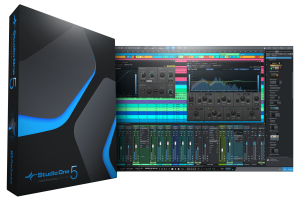
Remember that dream where you were in the studio hunched over the mixing console? Well, say hello to your mixing console. You’re going to be mixing and mastering your audio files on the computer, and a digital audio workstation (DAW) is the software that will allow you to do it. There’s a lot of options, and everybody swears by their favorite. The important thing is to find a DAW with a workflow that works for you.
Ted Brown Music Recommendation: Studio One Artist – Comes free with our PreSonus Audio Interface!
9: A MIDI Controller
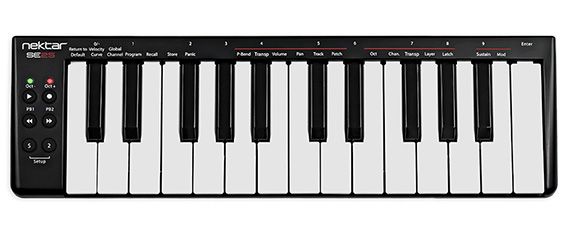
While not really essential, a Musical Instrument Digital Interface (MIDI) controller will definitely make your life easier. Digital audio workstations give you access to a wide range of instrument sounds, and it’s a real drag trying to compose using nothing but a mouse and keyboard. Enter the MIDI controller, which will let you plunk out notes with ease. If you fancy yourself more the Bob Dylan singer-songwriter type, you can probably skip the MIDI controller.
Ted Brown Music Recommendation: Nektar SE25 Mini Keys MIDI Controller
If there’s anything we didn’t mention, leave a comment and let us know. Have any questions? We’re happy to help.
What are you waiting for? Start recording those tunes.


